Services
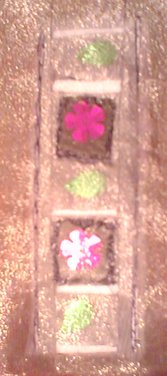
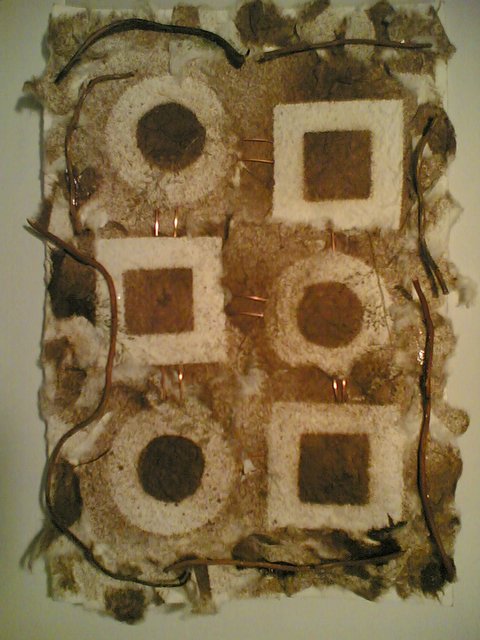 Putting componnents together. Walnut ink sprayed over simple stencils onto handmade paper. These were torn out and stuck to cartrdige paper. Then embellished with hazel twigs and wove in some copper wire.
Putting componnents together. Walnut ink sprayed over simple stencils onto handmade paper. These were torn out and stuck to cartrdige paper. Then embellished with hazel twigs and wove in some copper wire.
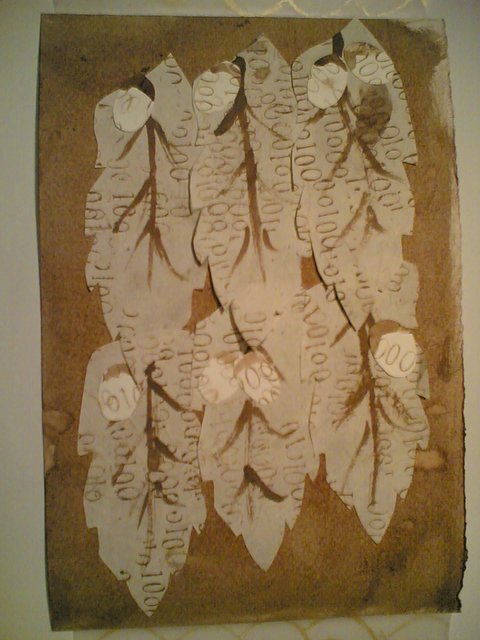 This is a series of leaves overlaid a walnut ink and silk paint background. The leaves and acorns were cut out from handmade paper which had been overstamped in a binary number pattern using walnut ink. Further details were added with a paint brush dipped in walnut ink.
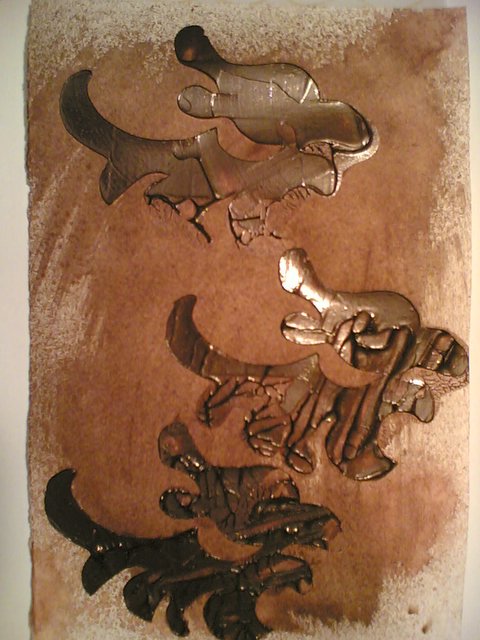
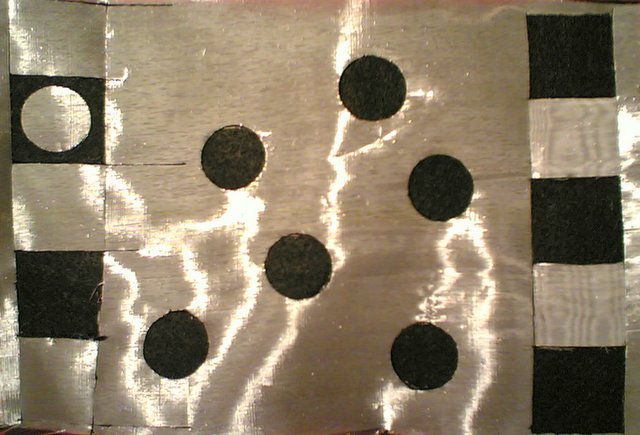
 Acrylic paint, printed with a formy block. I love my formy block - I have lots of fun heating it up over my toaster (the croissant warming rack is very handy for this) and then press it into all kinds of things which leave an indentation to print with. I have used treadplate flooring, wire, keys, Mr. H's dice block, plastic flowers and, in the case above, an old motherboard.
 Not terribly inspired here: walnut ink with acrylic, modelling paste stamped over. Would be happier with a maple lead design which I will look at a bit more with my sampling. My favourite place on the client site is the Japanese Sunken Garden. In late summer, early autumn it is at its best with the leaves of the Japanese maples turning to scarlet, orange and yellow.
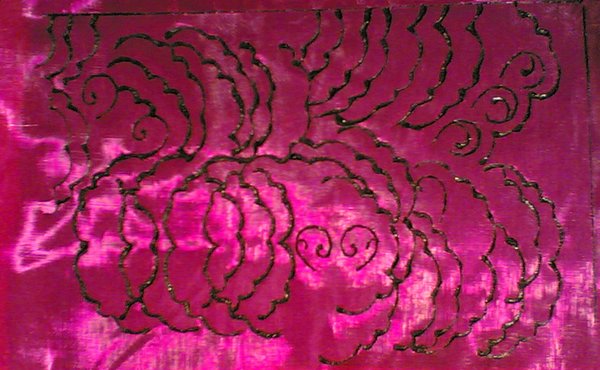
 Modelling paste and acrylic paint stamped off with a homemade stamp. The stamp was made from card, string and good 'ol PVA. The motif was inspired by a floral carving from some of the panelling in the house of the client. Here it reminds me off the propeller of the Spitfire plane. This was designed by Vickers during WWII, the company was located at the current client location.
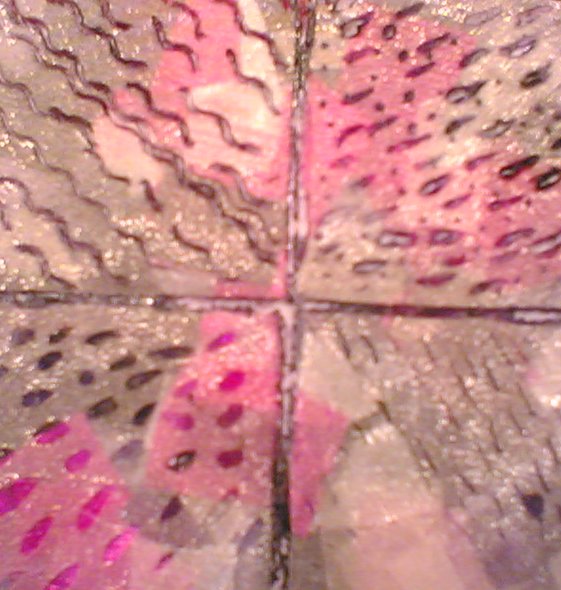
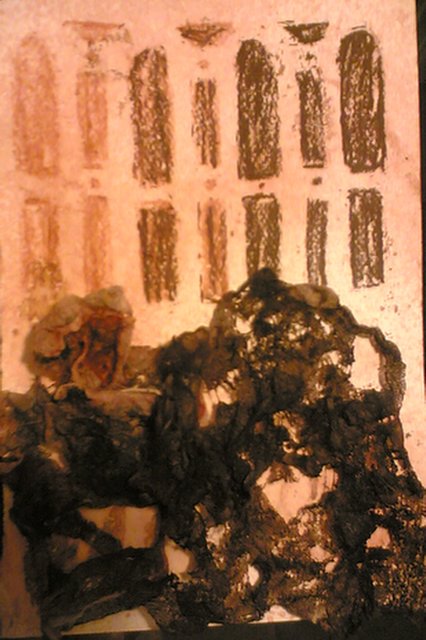
 This is the next design section, it comprises of layers of paper: walnut ink on cartridge, ruched parcel paper and pleated tissue paper. I then burnt the edges with a joss stick. This was based on some more of the carving on the location, the theme reflected the main house's use as a hospital during World War I.
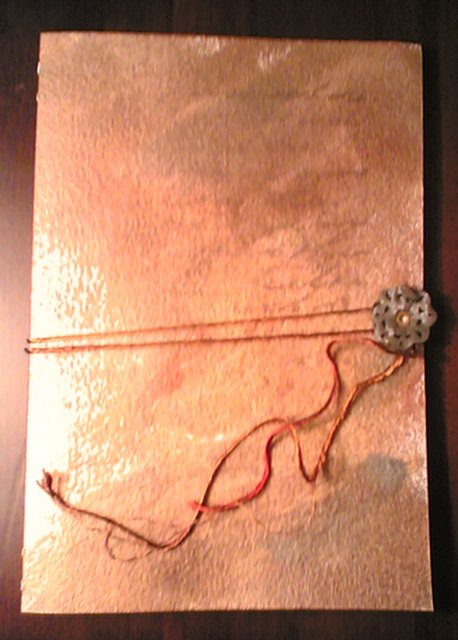 A busy weekend started with a workshop at Rainbow Silks in Great Missenden. Art Journals and Sketchbooks - this was a welcom escape from the wretched wall hanging and I was really motivated by our tutor Susie Jefferson. In future when I am nervous about getting started on a project workbook I can just decorate the cover and prepare a few pages to get myself out of the creative doldrums. Susie also showed us how to create this "kiss" journal (kiss because of the X shaped stitches attaching the book "signatures" to the cover.
Now very tired as - as well as driving and attending this workshop this weekend, I have done a fair amount of print in readiness for another go at transfer dyeing for my samples for my wallhanging. As well as a dash of curtain and curtain track buying (whoopee)
 Went with the rabbit motif this time. Symbolising the country house history of the location. In fact my Grandfather, who grew up locally could remember, as a boy, following the local hunt on his bicycle, this would have been just after WWI. I used the same materials for the Manor section but this time used the stencil cut out as my mask.
 Created a patchwork by laying two strips of organza on top of one another. I then place a metal ruler about 1/4 in down from the edges and ran the soldering iron along the edge. This "glued" the cut edges of the strips together and the excess edge was removed and reserved (see below).
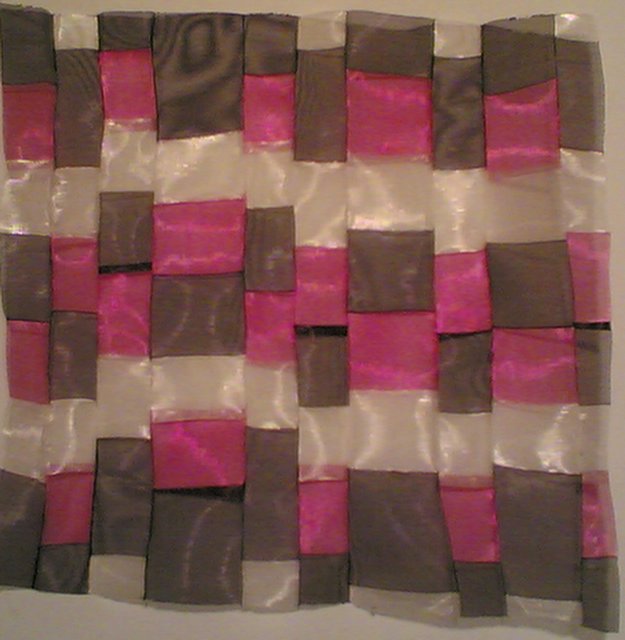
 Created this from the offcuts of the patchwork : laid offcuts vertically over a piece of organza. Took my metal ruler and cut strips horizontally. Then cut/attached strips of plain organza to the patterned strips. Both patchwork samples required a lot of finger pressing to get them to even think of lying flat.
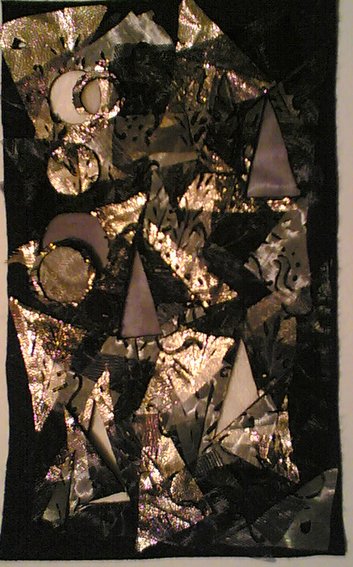 This sampler combines some of the techniques I have learnt. I decided use some of the opaque gold lame that I had in my stash - it melts beautifully. I had to swtich to my stencil cutter for the cut outs (can't wait for my fabricmaster!).
Periodic Apology : I am using (for convenience sake) my phone's camera for most of my photos. I live in the UK so its dark and dreary most of the time at this time of year. Hence the photo quality is not great. Photos are meant to give a hint of what I have done.
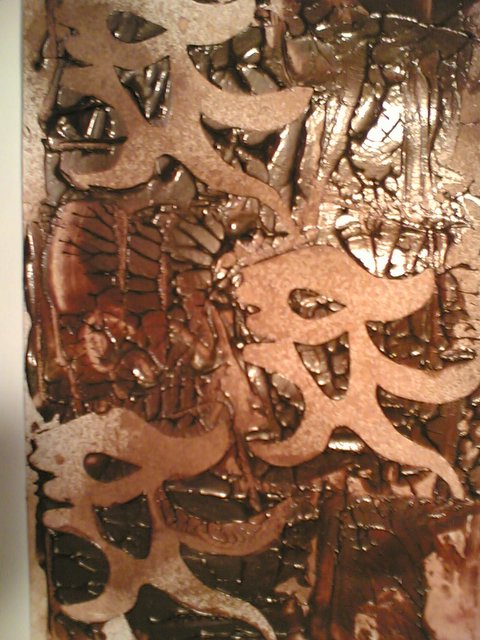
 Chose this motif to represent the stage of the client location from castle to manor house. The dragon motif is heraldic and I thought it symbolic. I feel that this section (and tomorrow's) needs to be developed further - will probably do this in stitch as a combination of the techniques I have been trying at the weekend and as part of my sampling. This section is a background of walnut ink and old silk paint sprayed and wiped. Over the top I used a stencil to provide a mask as I smeared over a mixture of raw umber and gold acrylic paint which was mixed with medium weight gloss texture gel. I decided to spread it on nice and thickly with an old credit card to provide some texture and to hint at the carving from which the motif was inspired by.
Decided to spend a little time learning a new technique - with a view to using it on my wallhanging. I followed some of the exercises in Margaret Beal's book "Fusing Fabric" The first sample is layers of organza on acrylic felt, just getting used to my soldering iron. My soldering iron doesn't have an ideal tip - its meant for stencil cutting and I need a very light hand if I don't burn all the way through to the glass cutting mat I made from a cheap clip frame.
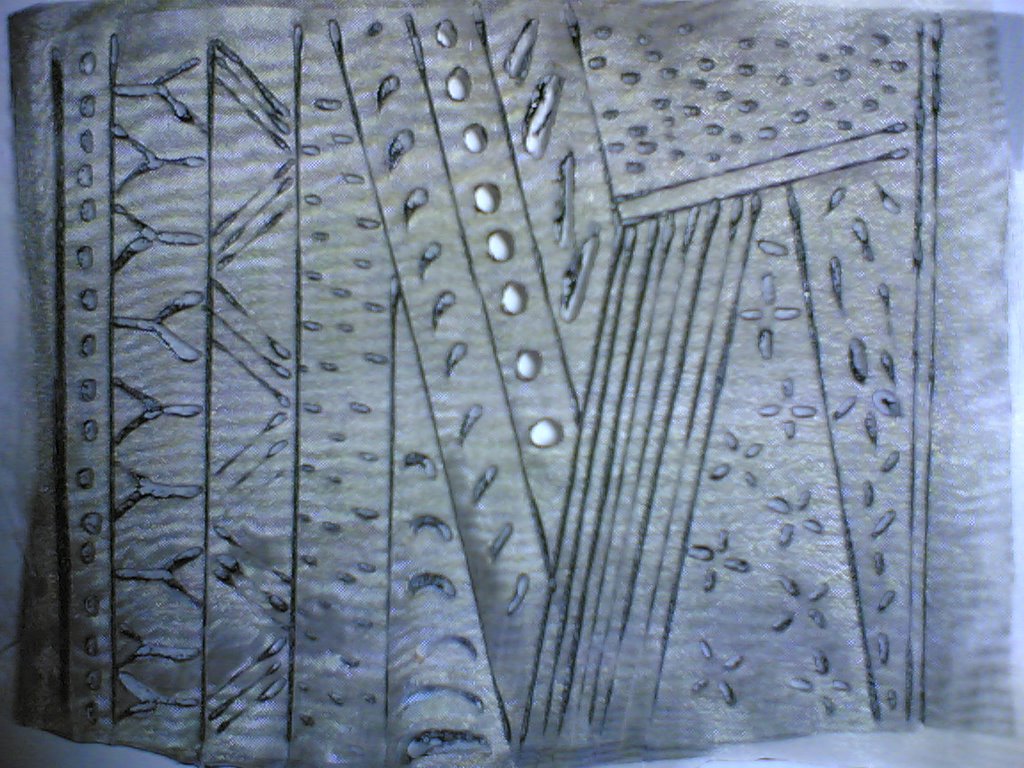 This sample was done with Mark's ordinary electrical soldering iron - which has a regular, slightly chunky chisel edged tip. In some ways I prefer it because it is easy to control - it seams to melt the layers together more readily before burning through the felt. The only downside is the tip is not so fine.
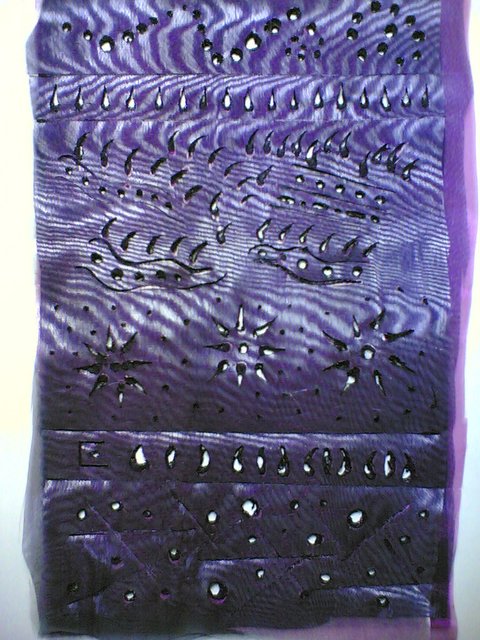 More layers of organza over a felt background, experimenting with the soldering iron to burn through to create eyelets of different shapes. The funny shape of the stencil cutting tip was especially good at creating tear shaped holes.
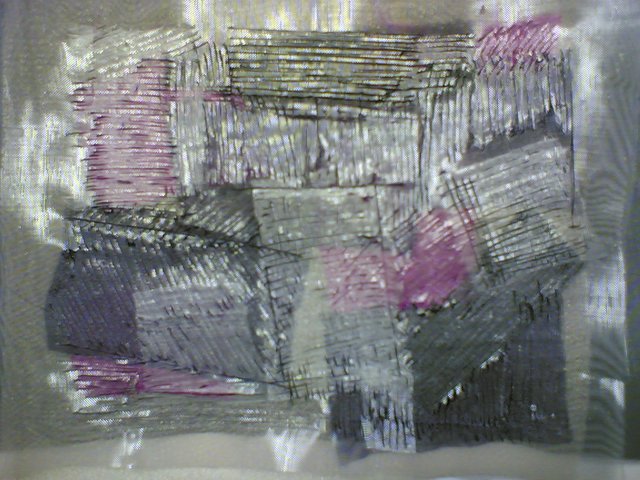 Layers of felt, organza, organza offcuts and another layer of organza. Fine lines burnt together to blend the colour areas together. In some areas the burning cut through the felt - not desired. A very light hand ws required.
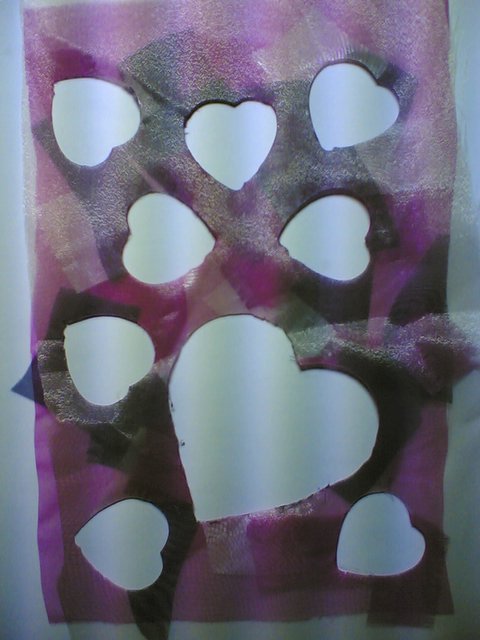 Using metal cookie cutters I cut out some shapes from a layered organza which had snippets of fabric sandwiched in between. I then applied the cut out shapes to a double layer of organza.
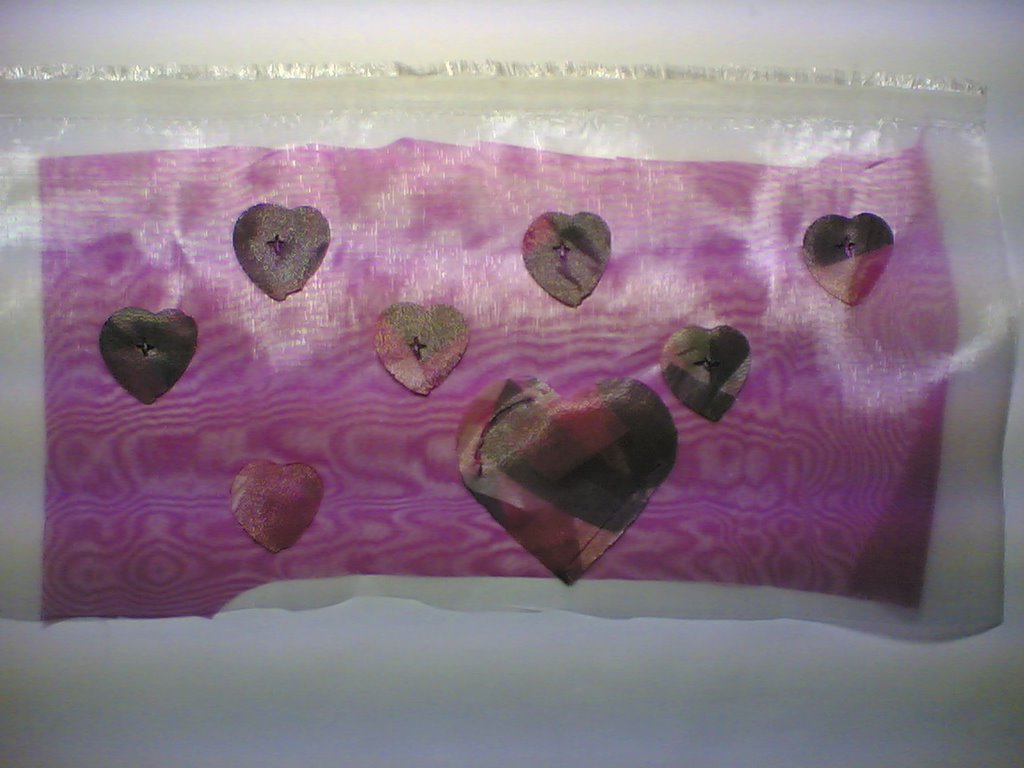
 Not so successful piece - I think the tip of the stencil cutter is too hot - so it cuts quickly but does not melt the edges together.
 Not so happy with this bit - I shouldn't have layered onto white felt. All these techniques are better on a dark felt. Wasn't really quite sure what to do from description in the book I was following and the photos in this section showed samples that were more advanced . Less content with the stencil cutting tip.
 Tried this technique two ways: cutting out a section by tracing round a template or by a ruler, or by cutting the area around a template. Even less happy with stencil nib - very easy to cut through to the glass when only using one layer of felt and organza.
 Picked up a metal embossing stencil at The Range yesterday. I used part of the edge to create patterns onto 3 layers of organza and felt. For this I changed to the regular soldering iron - with pleasing results. I have nice crusty burnt patterns. Good job I ordered from antex a fabric master with arange of nibs (and as its the same make as the regular soldering iron I am using) hopefully a more regular, manageable heat.
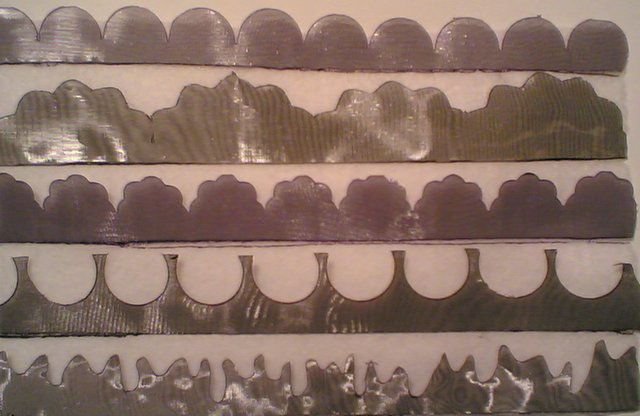 Two layers of organza and some metal templates. The bottom border was a freehand squiggle. I then sealed them onto a background of white felt using a metal ruler and the soldering iron.
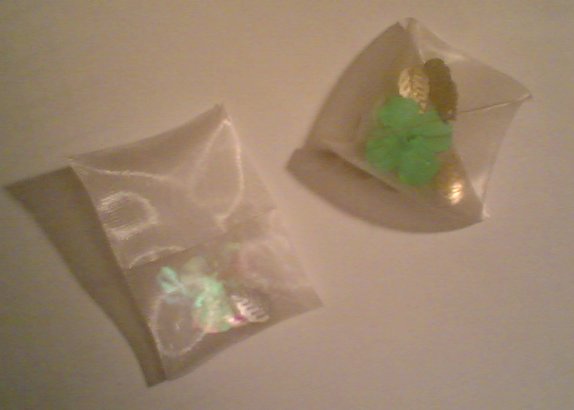 I created a tube with a rectangle of organza and seal the ends - for the triangular one I gave it an extra twist before sealing the last edge.
 This is one section of my proposed Wallhanging. The wallhanging will have 9 sections. Each section will represent a change or reinvention relating to my client. This first section represents the castle that once stood nearby the location. This is on cartridge paper with a walnut ink/old silk paint spray wash, crayon and pastel stencilling, with coloured nappy liner and fleece heat shrunk. This could have been more effective by using either an acrylic paint and gel mix for the stencilling (this was done on my other panels). Or by burning or tearing the shapes out of parcel paper.
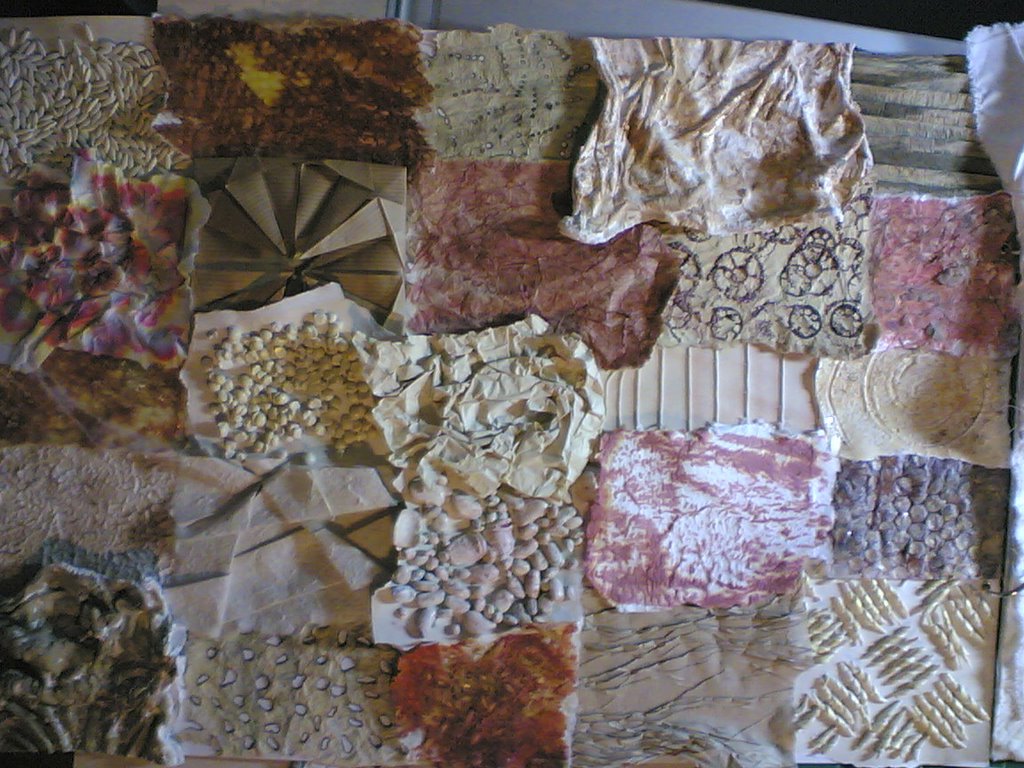 My texture design board - not brilliantly photographed. What can you do with a phone camera and an energy saving light bulb? I have attached it to a selection of my textile texture samples:
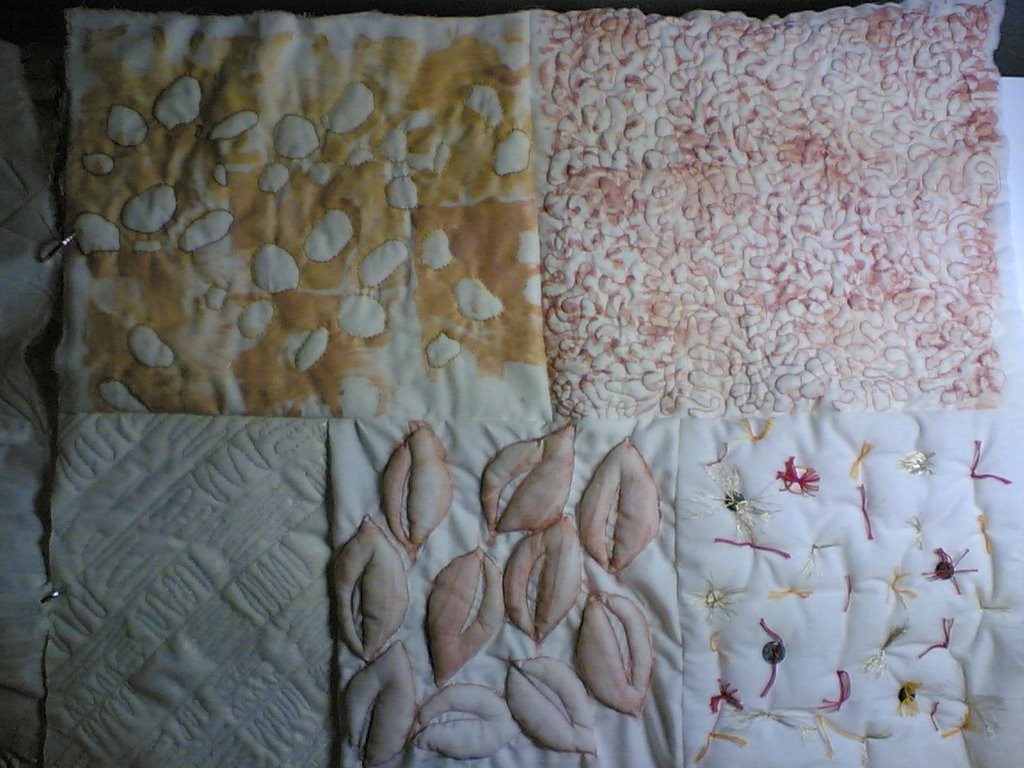 And yet more:
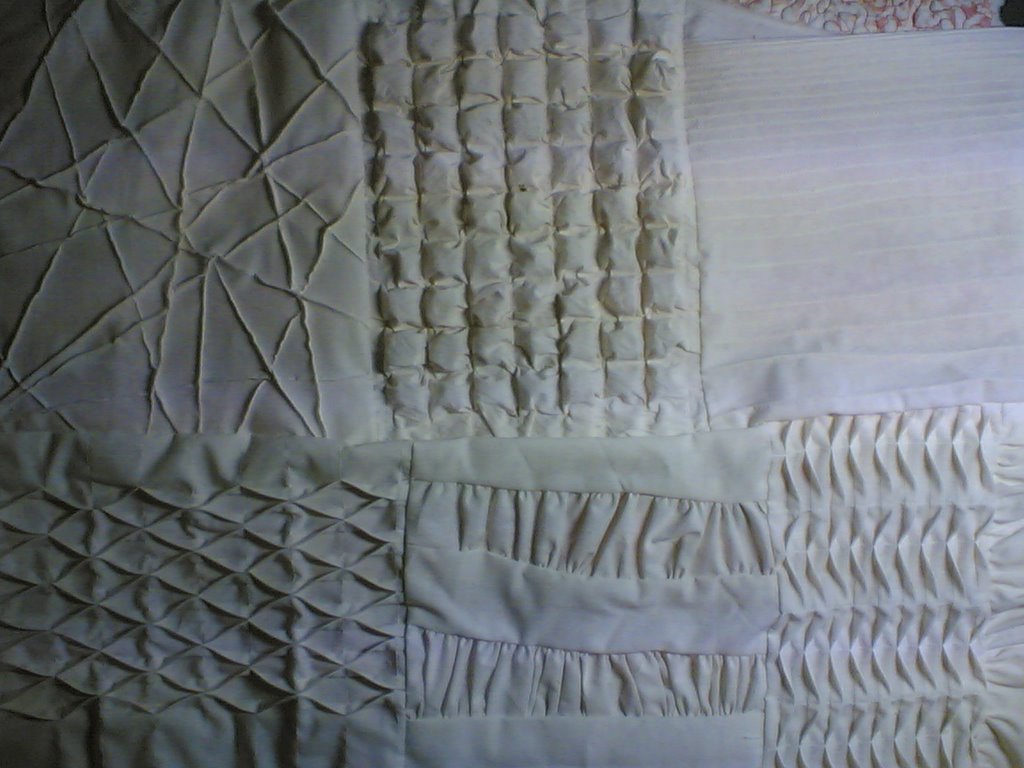
making a dual purpose book/presentation board. Bending the rules, moi?
Currently racing to get wallhanging prototype at least in a format I can present to my teacher when term starts tomorrow (will it be worth it? all depends whether the session turns into a certain someones private tutorial or not). Inspiration has struck at last, although a month or so late. Still have time to finish by the end of the month but it will be tight. Updates to follow.....
Oh yes, the tantrums? Well as some of my art & craft stash is up in the loft at the moment a certain step ladder is not my best friend - more of a wrestling partner... Hope this will settle down as I discover what I do and don't absolutely need.

